Katsu Curry

With fried chicken or sweet potato rounds

I’m a huge fan of Wagamama but on a student budget, eating out is very much a luxury. To get around this, I decided to recreate Wagamama’s famous Katsu Curry at home. I have tried this recipe a few times using a few different suggestions from the internet as their recipe was a closely guarded secret…
Recently however, Wagamama have published a recipe for Katsu on their Facebook page and so I tried again, adding a few extra bits to it – this is therefore their recipe with a few added extras.

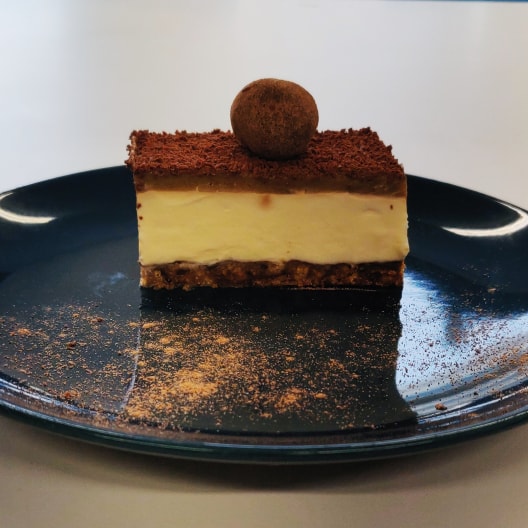
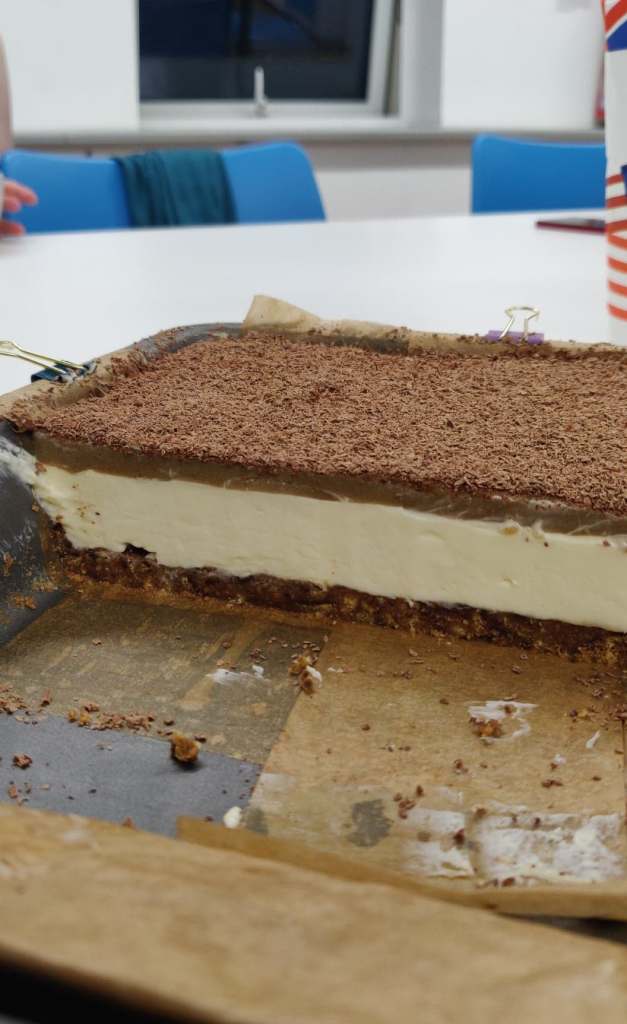
The photos below show a few variations of the recipe (including a half eaten one…)

I totally forgot to take a photo before starting to eat so this is a half-eaten plate of the katsu…sorry! Tasted good at least…

Ingredients:

Katsu sauce: serves 4-5 (appetite depending!)
2 medium onions – chopped small
1 garlic clove (or 1 tsp of lazy garlic)
2.5cm piece of ginger – peeled and grated
1 tsp of turmeric
2 tbsp curry powder
1 tbsp of plain flour
300ml chicken or vegetable stock
1 can of coconut milk
1 tsp light soy sauce
My additions:
1 carrot – chopped very finely
1 small sweet potato – mashed

Chicken/Vegetables:
1-2 chicken breast or 2-3 large sweet potatoes (serves 3 or 4 depending on appetite)
2-3 tbsp flour
1 egg – whisked
Cornflakes – crushed – you will need enough to coat the chicken/vegetables
4-5 tbsp Vegetable oil

Method:

  1. Chop the onion and garlic and place in a pan over a medium heat with approx. 2 tbsp of vegetable oil. Saute gently until they are soft.
  2. Add the chopped carrot, ginger and spices. I use a hand blender to combine the curry at the end so the carrot can be roughly chopped. Stir gently for a few minutes to circulate the spices.
  3. Add the flour and spread it over the pan to cook it out. I used a heavy bottomed pan to make sure the flour didn’t burn. This will only take a couple of minutes.
  4. In the meantime, make up the 300ml stock then add to the pan. Allow it to simmer but not boil.
  5. Add the coconut milk, stir everything together and then place a lid on the pan and allow it to gently simmer.
  6. Whilst the curry cooks, the veg or chicken can be prepared.
  7. After 20-30 minutes, the sauce should thicken up – the thickness of the curry depends on personal preference so if you like it runnier, cook it for slightly less time; if you prefer it thicker, cook it for a little longer to boil off some more of the moisture.
  8. Add the mashed sweet potato and then use a hand blender to blend the curry until smooth. This step is optional, depending on personal preference.
  9. Once the curry has reached the desired thickness and smoothness, it is ready to serve. It can be eaten with rice and fried chicken or vegetables, or added to other dishes.

Chicken:

  1. Before starting the prep, I whisked the egg in a bowl, crushed the cornflakes in another bowl, and had a plate at the ready to lie the coated chicken on. I kept the flour in a small pot next to the chopping board that I could dip into as needed. When handling raw chicken, it’s good to have everything at arms reach to avoid contamination of anything else – if doing the fried chicken and vegetables in the same dish, make sure to coat the vegetables first to avoid cross contamination with the chicken.
  2. Slice the chicken breast open along its length and lay it flat on a chopping board. (There may be a smaller piece of chicken on its underside that comes off easily – I removed this part and then sliced the main breast flat across the middle in two, giving 3 parts from each breast.) Repeat for each breast.
  3. Sprinkle a little bit of flour over the chicken and use fingers to rub it in. The chicken should be very lightly coated in the flour and feel dry-ish to the touch, but no flour should come off of it when it is lifted. I shook each bit of chicken lightly to remove the excess.
  4. Dip the floured chicken into the egg mix, gently shake off any excess and then place it in the bowl of cornflakes. The cornflakes should be crushed to a fine powder, with a few slightly bigger pieces left. Roll the chicken in the cornflakes until coated, then transfer to the plate.
  5. I found that the cornflakes did not always stick to the chicken and so, if there are gaps leftover, sprinkle a few cornflakes onto the chicken whilst it is on the plate and used the back of your hand to press them on.
  6. Repeat for each bit of chicken until all the pieces are coated.
  7. Cover the base of a small pan with vegetable or sunflower oil and heat it over a medium heat for a few minutes. Once it is hot, place the chicken in the pan and cook for 5-8 minutes before flipping and cooking for a further few minutes. Make sure that the chicken is cooked fully before removing from the pan.

Vegetable Version:

  1. Preparing the vegetables can be done by the same process as the chicken once they are cooked.
  2. Start by peeling the sweet potato and slicing the potato into equal-ish sized rounds. You can use any vegetables that you want for this – Wagamama use aubergine, butternut squash and sweet potato however this can be changed to suit different tastes! Make sure to prepare enough sweet potato for the main dish plus a little extra to add to the curry.
  3. Once sliced, boil the sweet potato for 8-10 minutes in a pan over medium heat until a fork can just go through them. Careful not to overcook the potato as it becomes very difficult to work with if it is too soft.
  4. Once cooked, select the pieces that you’d like to be used for the main part of the dish and drain and cool it. Then, coat it in breadcrumbs following the same method as the chicken. The potato can be a little crumbly and fall apart so be really gentle with it.
  5. Mash the remaining sweet potato and add to the curry sauce, stirring it through well.
  6. Once coated, the sweet potato can be fried the same as the chicken, although it will only need a few minutes on each side to cook the batter. Once golden and crispy, remove from the pan and place on a piece of clean kitchen towel to soak up any excess oil.

Assembly:

  1. Once the fried chicken or veg is ready, place on a plate with rice and pour the Katsu sauce across them both. Serve with a side salad and soy sauce, or just enjoy on its own.
An earlier attempt – still delicious.

‘Baileys’Cheesecake

“With payday comes good food” – me, today.

This cheesecake was an amalgamation of a few cheesecake recipes that I have tried out, combined with some good old trial and error. It can therefore be adapted to any type of cheesecake just by switching out the Baileys for something else. The jelly layer on top can be a bit of a faff and so, if you can’t be bothered with it, it is just as good without it.

Ingredients:

Base
– 250g Dark chocolate digestives (49p/Aldi)
– 90g Salted butter (99p/Farmfoods)
– 10ml ‘Baileys’ (okay, I actually used Aldi’s version which cost £3.75 for 700ml!!)
Topping
– 250g Mascarpone (£0.79p/Aldi)
– 200g Soft cheese (£0.59p/Aldi)
– 80ml Double cream (£0.89/Aldi)
– 50ml Baileys (again, Aldi to the rescue)
-120g Icing sugar (£0.69p/Aldi)
For the jelly layer:
– 2-4tsp Instant coffee (I used Nescafe Azera, but any instant coffee will do)
– 3.5g Vege Gel (or normal gelatine for non-veggies) (£1.20/Tesco)
– 100ml Baileys

The total cost of making this for me came in at £9.39. Depending on your appetite, this recipe serves approx. 12 decent slabs, bringing it to £0.78p/slice.

Method:
1. Start by bashing up the biscuits in a medium sized mixing bowl until they are fine and crumbly.
I was given a hand-operated vegetable chopper for my birthday one year which I now use extensively! (Link at the end of this recipe) I used it here to get my biscuits really crumbly however they can easily just be bashed up by sticking them in a food bag and using the bottle of cream liquor to whack them with.


2. Measure out the butter into a small microwaveable bowl and microwave it for approx 30 seconds until melted. Add the baileys to the mixture and stir before pouring over the crumbled biscuits.
(If you don’t want to use the baileys here, use 100g of butter instead – for a crumblier base, use the 90g of butter and just forgo the baileys altogether. )


4. Mix the butter into the biscuits until it just about comes together and forms a crumbly pile in the bowl. Ensure no dry mix is left behind – a good, solid foundation will stop a cheesecake avalanche later on…


3. Line a baking tray with baking paper, or grease the sides well with butter.
You can make this in whatever receptacle it will fit in that you have available. A deep roasting tin I nicked from a well-prepared flatmate was my weapon of choice – I used a piece of cardboard to partition the tin, creating an area of 5.5×5.5″ and used a bag of flour to keep it all stable. (This will fit, approximately, a 6.5 inch round tin.) If using a round tin, one with a removable bottom works well, especially if you want an Instagram worthy creation, but really it doesn’t mater much because it will taste nice).


4. Press the biscuit mix into your tin or tray. Make sure it fills the corners and no gaps are left behind. Use a flat object wrapped in a piece of kitchen towel (and no, you can’t use loo roll here) to flatten it into the tin.
I used a combination of a jar and a serving spoon to flatten mine. Being an engineering student, I took this one step further and got a spirit level out to make sure the base was entirely flat and even – you can do this but your flatmates will probably laugh at you.
(Note the cowboy cheesecake tin here!)


5. Put the base into the fridge to set.
If you’re living in student halls, a good trick is to wait for a flatmate to go home for the weekend and take advantage of their relatively empty shelf whilst they’re gone. If fridge space is an issue however, try splitting the mixture across smaller tins that can be stacked on top of each other or wedged into small spaces.


6. Whilst the base chills, stick all the ingredients for the topping into a large bowl. Mix them together well with a whisk until they come together into a thick cream. You can also use a wooden spoon if no whisk is available. You can realistically use anything you have to hand, just make sure there are no lumps.


7. Once the mixture has come together, spread it evenly over the base. I used a spatula for this but the back of a spoon or a butter knife works well too. Again, you can use anything, just get it flat.
If you are not adding the jelly layer, you can leave the topping however you want it – use a fork to make pretty patterns or just leave it looking a little rough for a textured finish.
The world is your lobster.

8. Put the cheesecake in the fridge to set.

9. For the jelly topping, measure out 100ml of boiling water and add the coffee – stir until it is dissolved. I like mine to be strong so I added 4tsp but 2tsp is fine if you prefer a subtler flavour. Top up with 100ml of cold water, followed by 100ml of Bailey’s.
The vegetarian gelatine is a bit of a faff and requires the liquid to be cold so I put the mixture in the fridge for an hour or so whilst I had my dinner.


10. Once the liquid has cooled, sprinkle the ‘gelatine’ over it and then mix it in well until it dissolves. Transfer to a saucepan and heat it gently until it comes to the boil; keep stirring the whole time. Remove from the heat and place the pan in a sink filled with cold water for a few minutes. Keep whisking it throughout before spooning it over the top of the cheesecake.
The gelatine will set super quickly – I did not want to put the boiling liquid straight onto the cheesecake as it would melt it and blend the two together, preventing getting the nice clear cut line, so I put it in the sink to cool it as much as possible before adding it to the cake. A few lumps will start to form in the pan before it has all been spooned out (don’t pour it straight on as it will disturb the cheesecake layer) but I just avoided putting these on the cake. Work quickly – you will have approx 4-5 minutes between getting it off the heat and onto the cake before it starts to set and become unworkable.


11. Put the cheesecake in the fridge for a few hours to set. Once cool, you can grate a few squares of dark chocolate over the top to finish it off before putting back in the fridge to finish setting.


12. The cake is ready to eat within an hour or two if you really can’t wait, but I found mine to be the best in terms of structure and finish the next morning (and yes, I did eat it for breakfast).

This did not last long in my kitchen…

Notes: If you’re feeling really extra (or you’re seriously procrastinating), you can make some truffles to sit on top of the cake with the leftover cream and chocolate. I did this, and used the subsequent sugar rush to power through the assignment I was procrastinating.

Link to food chopper: https://www.amazon.co.uk/Appetit-Gourmet-Vegetable-Stainless-efficient/dp/B07F1JRYB3/ref=sr_1_1_sspa?crid=2VDEGVQ0O3YV9&keywords=manual+food+chopper&qid=1575113836&sprefix=manual+food+cho%2Caps%2C202&sr=8-1-spons&psc=1&spLa=ZW5jcnlwdGVkUXVhbGlmaWVyPUEzNUU3MlFaV1lLSTEzJmVuY3J5cHRlZElkPUEwODYwMjMwQkhGTFo5Mk0wRVNZJmVuY3J5cHRlZEFkSWQ9QTA2OTI4MTkyMFE4UzUyWDg5UlhZJndpZGdldE5hbWU9c3BfYXRmJmFjdGlvbj1jbGlja1JlZGlyZWN0JmRvTm90TG9nQ2xpY2s9dHJ1ZQ== (Not being paid to do this, just really love my chopper!)

Follow me on Instagram @cowboyhaggis

First Post

Welcome to my blog where I’ll be sharing recipes from my student kitchen as I manoeuvre eating good food on a tight budget.

I’m a 21 year old engineering student using cooking as my primary means of procrastination – all recipes here will be products of my own experiments (unless otherwise stated). Feedback welcome and encouraged!

For more photos, and to give me an ego boost, follow me on Instagram @cowboyhaggis.

Stay tuned!

Design a site like this with WordPress.com
Get started